The CR6SE 3D Printer - Don’t Be Grumpy Like Me!
When the pandemic hit in 2020, like a lot of people, I had some weird amounts of extra time to use up. Some people took up running (too healthy), knitting (too much agility required) or baking many different types of bread (guilty as charged - mmm, brioche). One of the things that piqued my interest at the time was 3D printing. Something that I’d glanced at on the interwebs from time to time, it always struck me as something that would be quite fun to play around with. One random mention of this to a friend later, and I was on the way to his house for a very regulated “don’t get too close” exchange to pick up my first bit of 3D printing kit that he was getting rid of!
What The Hell Have I Gotten Myself Into?!#
It turns out that my first 3D printer was… a little less user-friendly than I’d hoped.
Meet the Printrbot Metal Simple.
The Printrbot Simple Metal was created by Printrbot, a company that was fairly successful for a while. It eventually overextended itself and collapsed in 2018. The observant amongst you will notice that this is before I got hold of my Simple Metal, which means that support for it was somewhat non-existent. Still, the friend I got it from had made some fun stuff with it, and figured it’d be a great way to get started.
In many ways, he wasn’t wrong. I certainly learned a lot about how FDM printing and 3D printers worked in general. But it certainly wasn’t easy!
I don’t think it’s supposed to look like this?
Lots of important settings to get right when you start printing, like working out where to start the print from on the print plate so that your Benchy doesn’t look like it ran head-first into a wall at 217 KPH! I got some small prints working OK, but there were many failures for each vaguely successful one. I started to play around with flashing updated (self-compiled!) firmware and replacing various sensors. All of which eventually led to it being pretty much bricked.
At around about the same time, a new Kickstarter had appeared for the Creality CR6SE, which promised better quality and that everything would work out of the box - all at a fairly reasonable price. Like many others, I was sold on the idea, backed it, and received it later in 2020. The next step in my 3D printing journey had begun!
Creality First Steps#
At first, everything was bliss. My first few prints worked out well. Benchy looked like a boat, the 307 calibration cubes I printed looked sharp and crisp, and I began to get my hopes up. A few small things weren’t quite right though, and Creality seemed a bit slow to pick up on fixing them. After stumbling onto a customer support forum, I came across the Community Firmware project, one that actually respected Open Source properly (something Creality seemed reluctant to do). Flashing this onto the printer led to a much better printing experience. With a new burst of inspiration, I printed out a bunch of neat little things to help around the house and to keep Grumpy Metal Child (The Youngest) occupied. Life was good again.
Until it wasn’t. Things started slipping off the print plate. The bed-levelling just seemed to show garbage, no matter how I tried adjusting things (even going so far as to drill some holes in the base plate and add some knobs to allow plate adjustments without removing the plate). When I tried printing test patterns from the calibration menu, they came out stringy if they came out properly at all - most of the time, they didn’t stick to the plate and just ended up a big pile of PLA spaghetti mush.
I gave up after a few weeks of trying to get things right. It was all too much. Fuck 3D printing. It just wasn’t worth it.
What’s That Thing Gathering Dust?#
Fast forward around 18 months, and the CR6 had been sitting on top of a bookshelf in a fairly prominent position for some time. It hadn’t been powered on in some time, and had been mentally filed away under S for “Should take a look one day”. Other things seemed more interesting though, so Home Assistant and Rust (and let’s not beat around the ARPG bush, Path of Exile and Diablo) got more attention in the relatively short amounts of free time that I had.
Recently, a random thought popped up in my head. One of the things that I’d done when trying to get the CR6 working had been to replace the extruder with a better one. The random thought was that I hadn’t bothered recalibrating the extruder steps setting on the printer. Surely that couldn’t be the cause of my issues? I guess maybe it could account for not enough filament hitting the build plate and therefore not sticking or something? It had always seemed a bit daunting, but a quick Kagi around led to this awesome YouTube video. It didn’t seem too hard after all. Maybe it was time to see if I could get things going again.
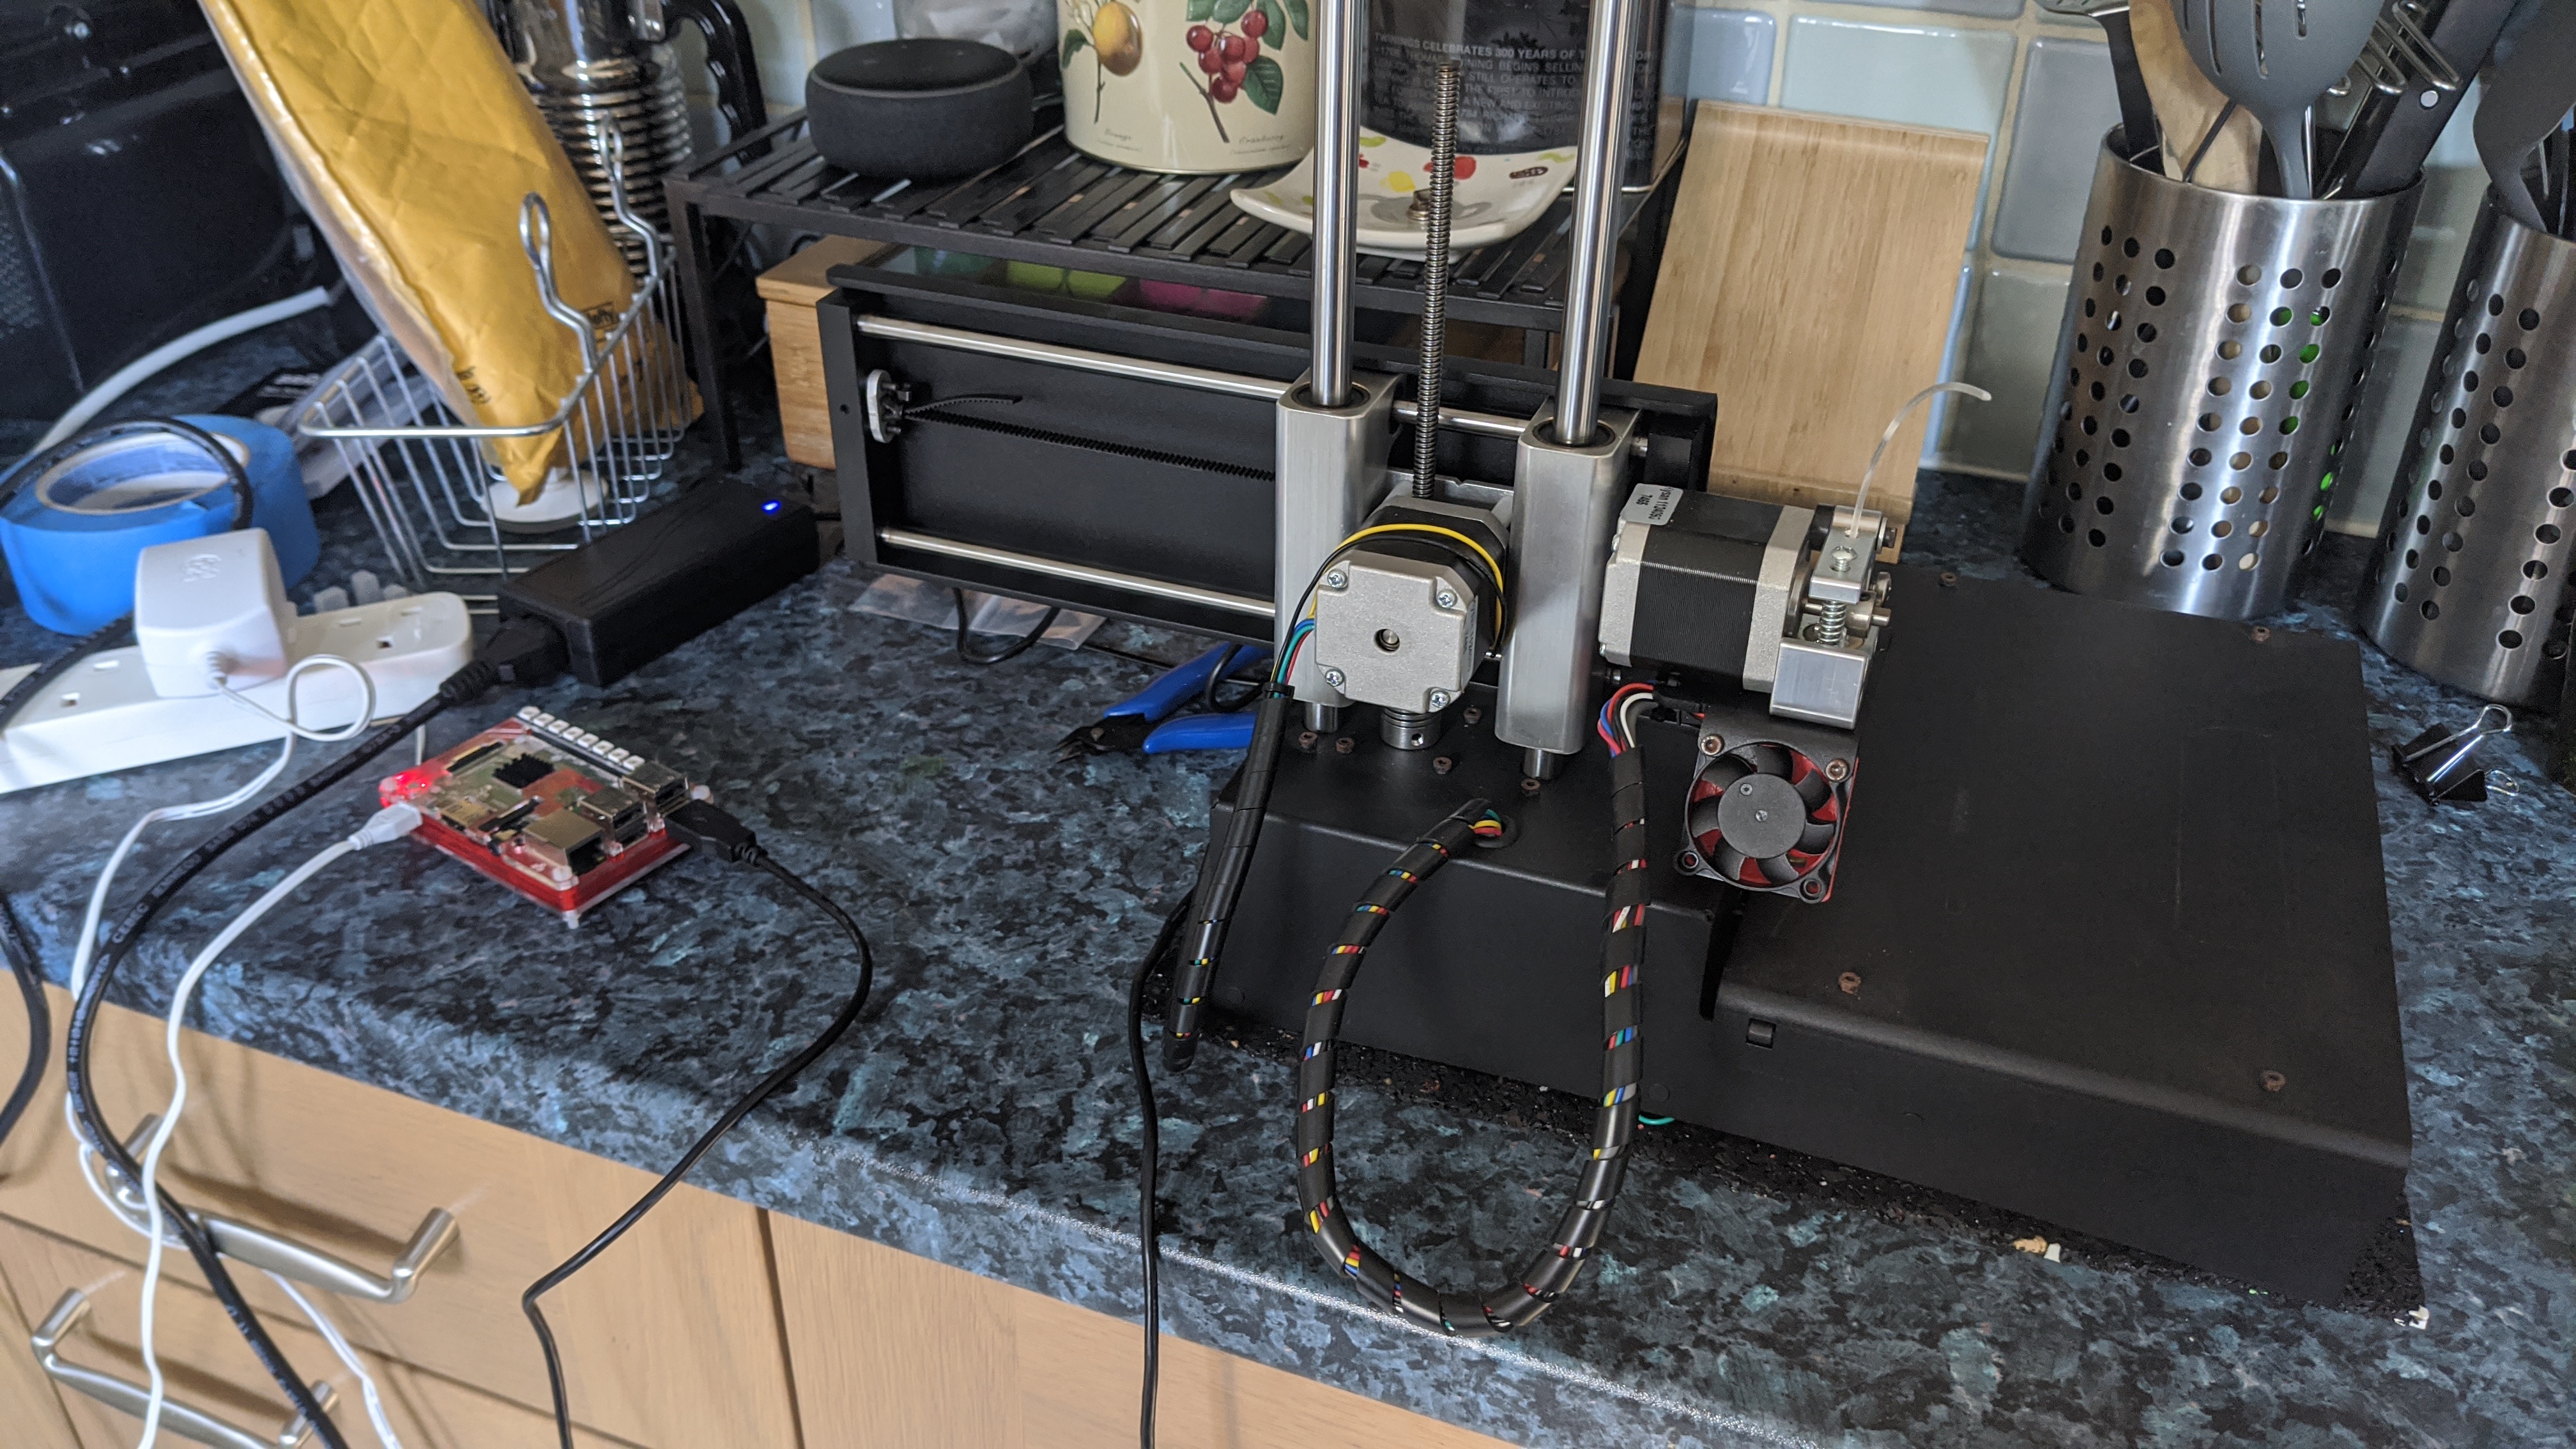
Having watched the video a couple of times, I turned on the printer for the first time in forever, got the calipers ready and dutifully measured out 120mm of filament. I’d forgotten where the option to feed filament through the hotend was in the Community Firmware, so bumbled around trying to find the right HOLY SHIT, THERE’S A PROPER SCREEN FOR CALIBRATING E-STEPS! It does the math for you! You tell it how much you measured out, how much was left after feeding 100mm through, and it fills in the e-steps for you! <insert quintuple facepalm picture here> It was even easier than the video made it out, because the firmware is awesome and does it for you! Test print pattern perfection, here I come!
The Colours Are So Pretty!#
I checked a few things first. The knobs that I’d added to help with levelling adjustments were at vastly different levels, so I began by moving them to roughly the same level - the mechanical equivalent of a reboot. The auto bed-levelling ran and generated a mesh that looked like this:
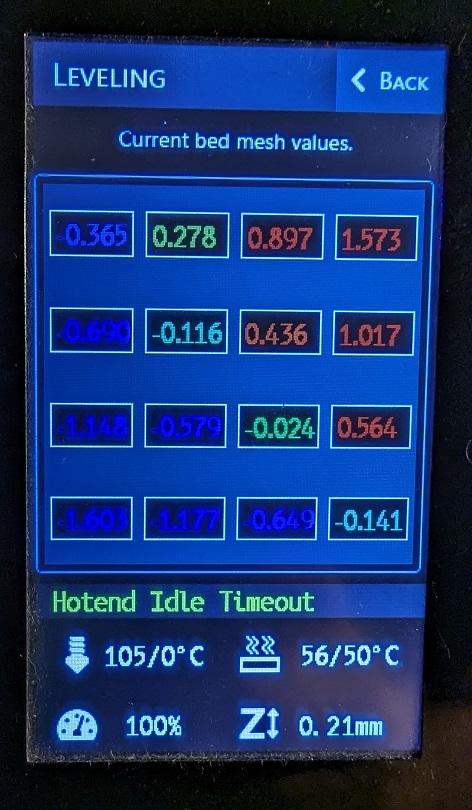
Look at the pretty colours!
That was not the outcome I was expecting. I adjusted the knobs one at a time to try and isolate what effect each change would have. The pattern remained basically the same. All the old feelings of rage boiled up again. Stupid thing - 2 steps forward, yet right back where I started! One of the things I did notice was that the table surface I was trying to print on was uneven, so adding some folded paper under one corner stabilised the printer, which I assumed would probably be useful.
With the levelling mesh still looking like a packet of Skittles, I Kagi’ed a bit more to see if I could find out something (anything!) that might help. The Community Firmware discord channel had a lot of information in it, buried amongst the pages of people asking for help with various things. One link in particular stood out, and that was an article by one of the Community Firmware authors Sebastiaan Dammann on strain gauge levelling. This is how the auto-bed-levelling works on the Creality printers (and also your kitchen scales).
While all very interesting technically, something he mentioned early in the article struck home - if I re-ran the levelling multiple times, and got the same results, then this is probably OK. The printer is therefore accurately calibrated and should know how to deal with the state of the build plate. To quote Sebastiaan directly - “Bottom line: If your printer prints fine, then it is no issue that the bed levelling mesh looks like a rainbow.”
I ran the bed levelling several times, and each time, the results were very close. So, maybe everything was OK?
The Moment Of Truth#
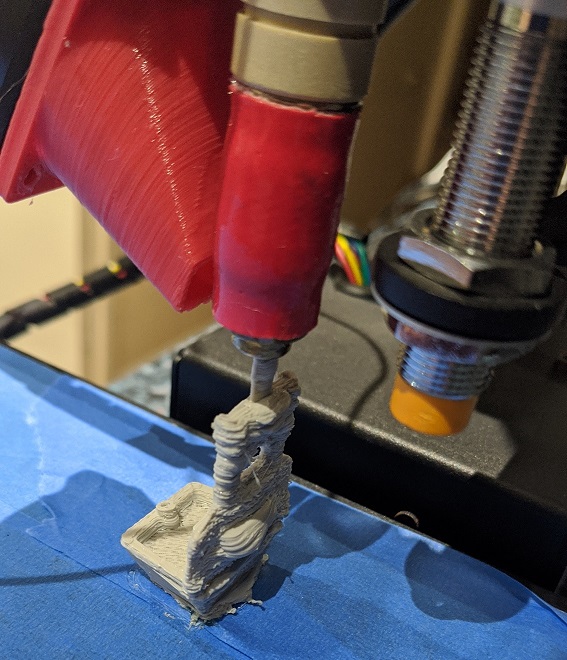
The test mesh print was a success. I couldn’t quite believe it. Did this mean that things were actually working out? Time to get Benchy out of retirement!

Benchy Having A Bad Hair Day
Yeah, still not quite there. Looks like it got most of the way through, but then came loose from the plate and chaos ensued. Some more online research seemed to suggest that rubbing the build plate down with warm soapy water every few prints was a good idea to improve first layer adhesion. In addition, I added a small raft in Cura’s slicing options to provide a bit more surface area. One more time…
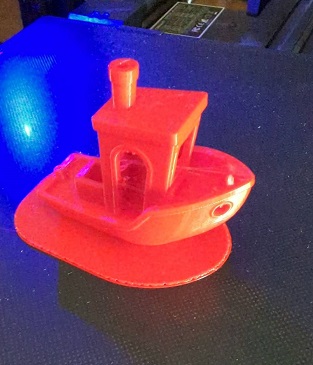
VICTORY
At last, it worked! Since then, I’ve done a few more prints, and they seem to all have gone smoothly. I’m really Really REALLY trying not to get too excited, but I’m hoping that I’ve managed to beat the various little gremlins that have been bugging me into a small pile of green goo on the floor.
Checklist To Happy Benchies#
In summary, here’s the things that I did to get it all going:
- Calibrate your E-steps! It’s not hard doing it by hand, and even easier if the firmware supports doing it nearly all for you.
- Make sure the printer is level when running your auto-bed-levelling. Wads of paper under the corners will do just fine.
- Don’t worry too much if your levelling mesh looks like a kid’s crayon box, as long as the mesh is roughly the same on several levelling runs.
- Wash the print bed down with warm soapy water every few prints.
- If your slicer supports it, try a raft instead of a brim for additional build plate adhesion.
Hopefully this helps at least one human enjoy some happy non-Grumpy printing!